Install Portainer to manage Docker volumes, images and containers
Learn how to install and set up Portainer to manage your Docker containers, images and volumes in this tutorial.


In this tutorial, you will learn how to install Portainer, a GUI to manage Docker volumes, images and containers. If you're not a fan of using the CLI to interact with Docker, Portainer is the tool for you. This tutorial can be used on a hosted server for your next project or even from a Raspberry Pi.
Prerequisits
Before getting started, you must have a running installation of Docker on your computer/server. I've previously written a tutorial on how to do this on a Raspberry Pi.
What is Portainer?
Portainer is a web-based GUI for managing Docker volumes, images and containers in its simplest forms. It can also manage Kubernetes and swarms, but this won't be covered in this tutorial. This tutorial, we'll be using Portainer CE, which is their non-commercial 'Community Edition' product.
Portainer itself is a containerised application. Before you hit the comments, I'm British, hence my spelling of 'containerized' with a 's'.
Step 1 - Set up a volume for Portainer
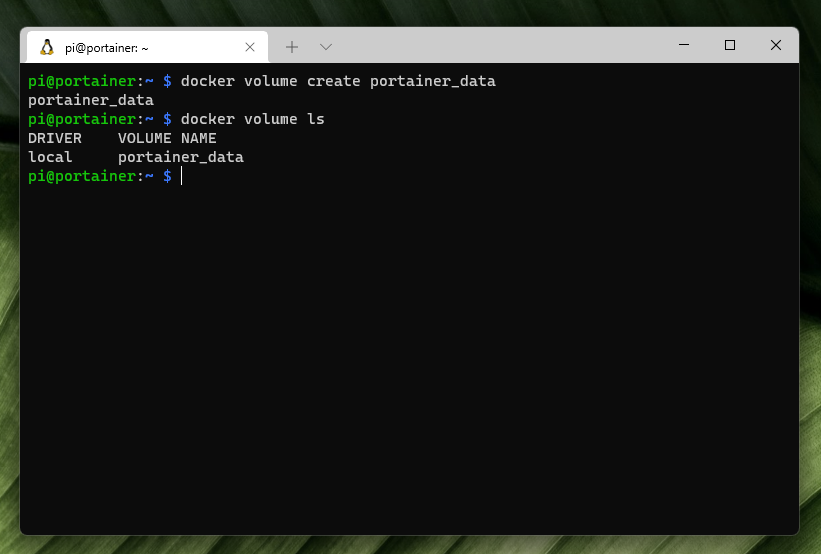
First, we need to create a persistent volume that the Portainer container can use to store its data. Let's go ahead and create this:
docker volume create portainer_dataThe volume will now be created, ready to use for Portainer. We can confirm this by listing our volumes:
docker volume lsYou should see your Docker volumes, including the one we've just created:
Step 2 - Install and run the Portainer CE Docker image
The next step will be running Portainer inside a Docker container. The following command will do this, but let's take a look at it first.
docker run -d \
  -p 8000:8000 -p 9443:9443 \
  --name portainer \
  --restart=always \
  -v /var/run/docker.sock:/var/run/docker.sock \
  -v portainer_data:/data \
cr.portainer.io/portainer/portainer-ce:latestThe command above is a multi-line single command and should be copied and run in full rather than line-by-line. Here's a breakdown of what each line means.
docker run -druns the container in a detatched state, meaning it runs in the background.-p 8000:8000 -p 9443:9443maps two ports; 8000 on the host points to 8000 on the container, 9443 on the host points to 9443 on the container. We will use 9443 to access the GUI from our browser. You can change the port on the host side if you wish.--name portaineris the 'friendly' name we give to the container. This can be anything you want providing it follows the Docker defined naming convention (no spaces, special chars, etc)-v /var/run/docker.sock:/var/run/docker.sockmounts the Unix socket Docker listens on so Portainer has access to the docker daemon. Luc Juggery has written a great article covering this that's definitely worth a read.-v portainer_data:/datamounts the volume we created in step 1 to the path/datainside our Portainer container.- Finally
cr.portainer.io/portainer/portainer-ce:latesttells Docker to pull thelatestversion of theportainer-ceimage inside theportainernamespace from thecr.portainer.iorepository. You can (and should in production environments) be specific with the version instead of usinglatest.
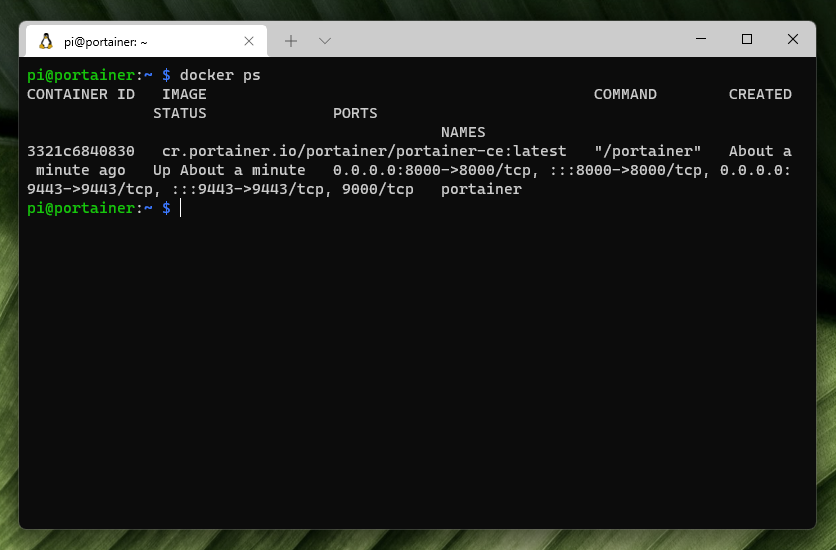
Go ahead and run the command. The image will now pull from the repository and run. Docker will give you the ID for your container once it's finished. We can confirm our container is running by using the following command:
docker psThis command lists running docker containers. You should now see your Portainer CE application running from a Docker container:
Step 3 - Accessing the GUI and setting up Portainer
Let's go ahead and access the GUI. For this step, you must know the IP address of your host running Docker. In my case, this is 10.0.1.138, but it will be different for you. You can run the following command from your docker host to determine this:
Linux/MacOS:
ifconfigMicrosoft Windows:
ipconfigOnce you have your IP address, visit the following address in your browser: https://<your IP here>: 9443 so in my case, I'm visiting https://10.0.1.138:9443 as 10.0.1.138 is the IP address of my Docker host.
By default, Portainer uses SSL and issues itself a self-signed SSL certificate, you will see a security warning similar to this on your first visit:
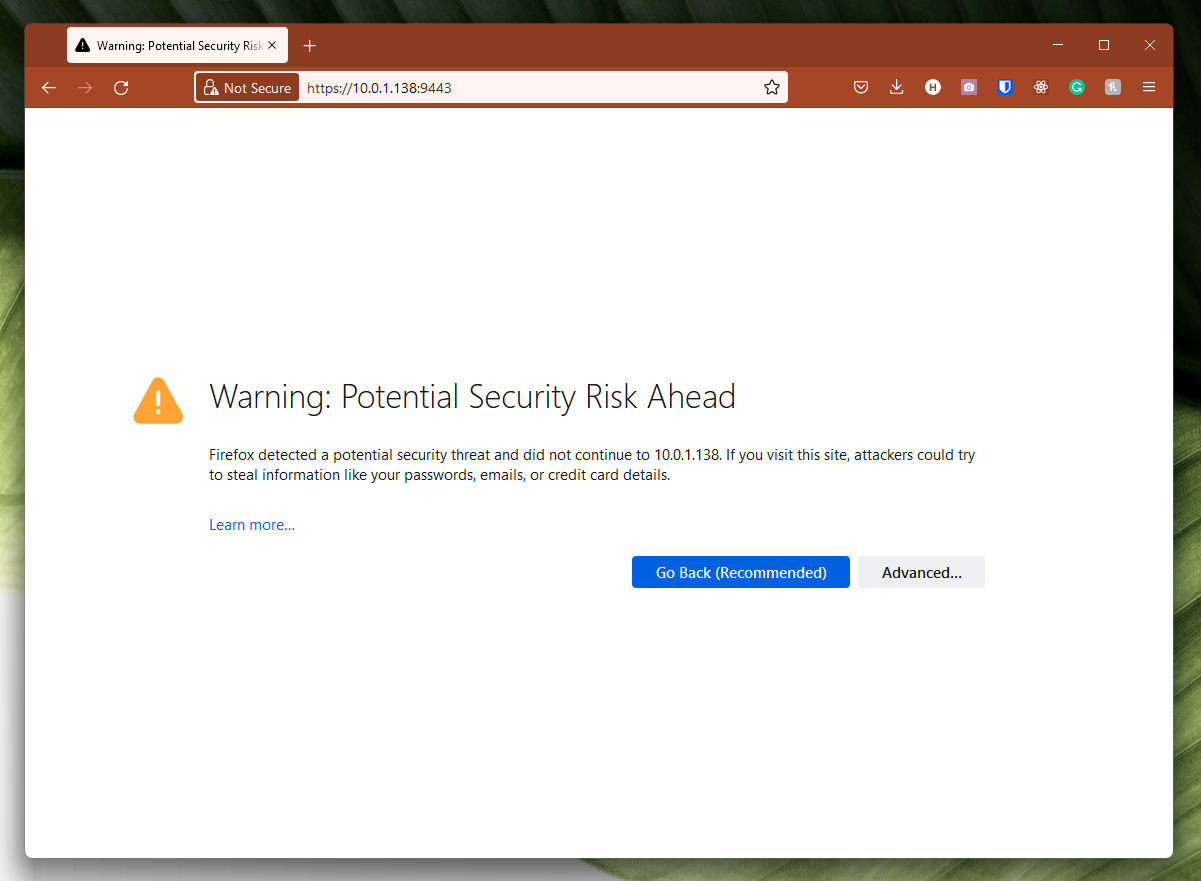
Don't worry about this too much, you can install a certificate later once Portainer is set up. The procedure will be different from browser to browser, but you should have some kind of 'advanced' tab or button where you can 'accept the rist and continue'.
Setting up Portainer
You should now see the first-time setup screen for Portainer, where you are prompted to provide an admin password.
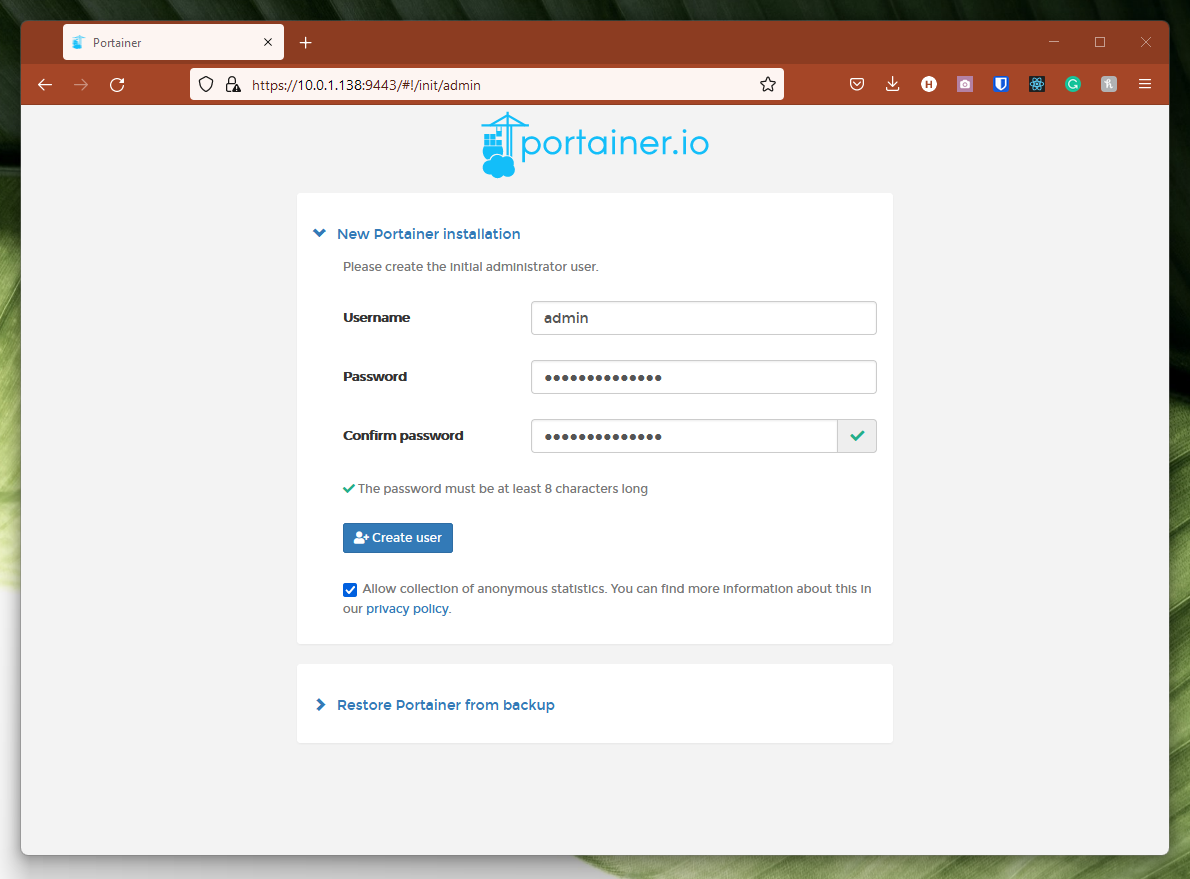
Go ahead and provide a password and hit 'continue' to finish up.
Conclusion
That's it. We're now ready to begin running applications in Docker container via Portainer. Here's what we achieved:
- Created a volume for Portainer to use
- Pulled the portainer image and ran Portainer CE inside a Docker container
- Accessed the GUI and created our
adminuser.
Let me know in the comments what applications you'd like tutorials on running inside our Portainer controlled Docker installation. Feel free to provide any feedback you have.