How to add your Plugin to the WordPress Plugin Directory
Learn how to submit your WordPress plugin to the WordPress Plugin Directory, particularly if you use GIT

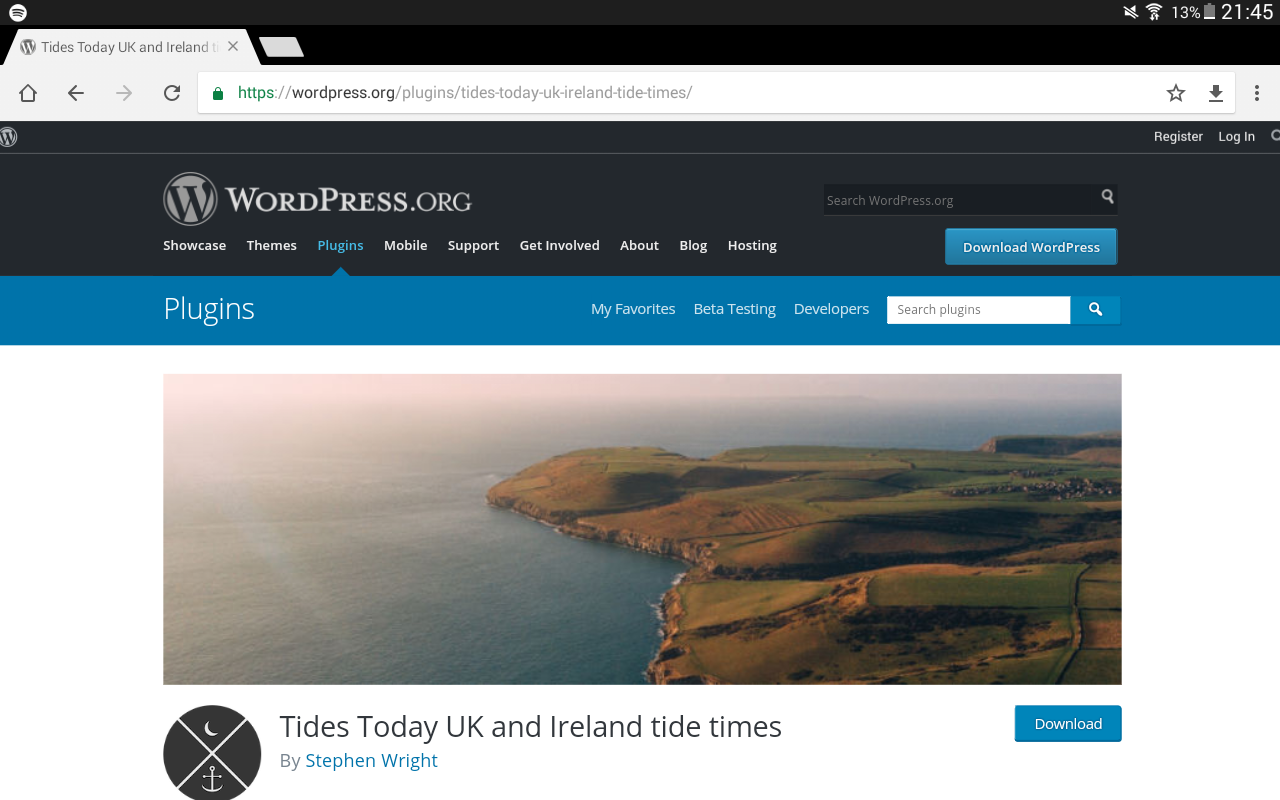
I’ve written countless plugins for WordPress over the years in work and for my own personal projects but never had I created on with the intention of adding it to the WordPress plugin directory until recently. This post outlines my experiences when writing my Tides Today WordPress Plugin and hopefully answers some of the questions I found myself asking.
This article is targeted at those adding a plugin to the WordPress plugin directory, especially if you have Git services like BitBucket or Github and have no experience with SVN.
Step 1 – Writing the plugin
WordPress recommend using their ‘WordPress code style’. It’s important to note that this is a recommendation and not a requirement. I’m not a fan, so stuck to good old PSR-2 for mine, but if you really want to be completely ‘WordPress’, you can find out about the WordPress code standards here.
When writing your plugin, it’s a good idea to ensure that it works on a wide range of server setups. I’d advise using old array syntax instead of square brackets. Keep an eye on recently deprecated functions to ensure your plugin is backward compatible for users who don’t update their WordPress quite as often as they should.
Remember to localize strings so that your plugins can be translated if required.
Third party libraries and composer
I depend on the Guzzle HTTP Client for my plugin and include it using composer. WordPress unfortunately, doesn’t ‘play ball’ with Composer packages out of the box, so you’ll need to include your Composer autoloader in your plugin and commit the vendor folder to your repository. Yes, this is ugly but necessary.
Feel free to take a look at my plugin source code to see how I did this.
A homepage for your plugin
It’s an idea to set up a quick page on your site or create a WordPress blog which provides information about you, your plugin and steps on how to use it.
Step 2 – Preparing your plugin to be submitted to the Plugin Directory
Your plugin must have the following files:
- plugin-file.php (call this whatever you want)
- readme.txt
Plugin-file.php
Your plugin file will need to have a little information so that WordPress can register it. It doesn’t need to be called ‘plugin-file.php’ by the way, call it something that’s relevant to your own plugin. Below is a doc block in the top of mine:
/*
Plugin Name: Tides Today UK and Ireland Tide Times
Plugin URI: https://tides.today/three-day-forecast-plugin
Description: The Tides Today UK and Ireland Tide Times plugin provides 3 day tide forecasts for over 700 UK and Ireland locations.
Version: 1.1.1
Author: Stephen Wright
Author URI: https://www.stewright.me/
License: GPL2 License URI: https://www.gnu.org/licenses/gpl-2.0.html
Text Domain: tides-today Domain Path: /languages */
I’ll explain what these mean now.
- Plugin Name: Speaks for itself, this is how it appears, in the Plugins page of a WordPress blog.
- Plugin URI: A Uri of your plugin page that your users can visit for more information on your plugin.
- Description: The description is displayed in the Plugins page of a WordPress blog.
- Version: The current version number
- Author: Your name (don’t include your email address)
- Author URI: Your personal website (or company website if you are developing on behalf of one)
I use Git, WordPress use SVN. This could get interesting… Before we need to worry about that, we need to nicely ask WordPress for a repository on their SVN server. You can do this here. Scroll to the section about SVN below to find out more.
Step 3 – Deployment. I use Git, WordPress uses SVN…
As mentioned before, I have zero experience with SVN, none whatsoever. I do use Git, however, and am fully comfortable with the git-flow principles. In your repo, you will need to create some working directories:
- / – the root of your plugin, where the plugin resides
- /assets/ - banner-1544×500.jpg – banner used for the plugin directory
- banner-772×250.jpg – banner used on the mobile version of the plugin directory
- icon-128×128.png – icon used on the mobile version of the plugin directory
- icon-256×256.png – icon used on the desktop version of the plugin directory
- screenshot-1.png – any screenshots used in your readme.txt file. You can have many of these.
- /languages/
Composer and the vendor directory
If you’re using composer (as I have) and depend on some other PHP packages, you need to ensure that you include the autoloader in the main plugin file. See my source code to see how I did this.
Remember to commit the vendor folder in your repo too. I know this goes completely against the best practices, but it’s a necessary evil here.
How to add a header and logo to WordPress plugin directory page
The next thing we will want to do is to add screenshots and an icon for the WordPress directory page.

There are a few files we can add to the repository for use with the WordPress plugin directory. We store these in a folder called assets. See my directory structure above to see what each file should be called in the assets directory.
Git to SVN helper script
Before I write this section of the tutorial, I want to personally thank Gary Jones (see his Github) for his script which allows you to deploy your git-based WordPress project to WordPress SVN.
It’s very simple, save the script (found here) into the root of your plugin once you’ve finished writing (and committing to your git repo) your project. Run the following command (assuming you called the script deploy.sh) from your terminal:
bash ./deploy.sh
This will give you an interactive script which will publish your WordPress plugin to your WordPress SVN repository.
Conclusion
So far we’ve written our plugin, following WordPress best practices, tested and deployed our plugin. That’s all we need to do. Any help, ask in the comments below. Thanks and good luck!