Create a Raspberry Pi VPN Server using L2TP/IPsec
In this tutorial, I will guide you through the steps to turn your Raspberry Pi into a VPN server using L2TP/IPsec


There's a number of reason why you'd want to create your own VPN server to access your home or work network from anywhere else in the world. Maybe you want to stream Netflix from abroad, or want to get files off your home NAS. In this tutorial, I will guide you through the steps to turn your Raspberry Pi into a VPN server using L2TP/IPsec.
Looking to install OpenVPN instead? View my tutorial on installing OpenVPN on a Raspberry Pi.
Jump through the Steps
- Step 1 – Clean installation of Raspbian
- Step 2 – Securing your Raspberry Pi
- Step 3 – Install the VPN Server on your Raspberry Pi
- Step 4 – Configure your Router to allow VPN traffic into your network
- Step 5 – Configure your computer to connect to your VPN- Connect from Windows 10
- Connect from MacOS
- Conclusion
Step 1 – Clean installation of Raspbian
To begin, I would strongly recommend ensuring your Raspberry Pi is running a clean version of Raspbian OS. Download the latest Raspbian Lite image from the Raspbian Website.
If you're using MacOS or Microsoft Windows, I strongly recommend using Etcher to provision your MicroSD card (or USB Flash if you're using a Raspberry Pi 3 onwards – recommended). Download it from the Etcher website.
Once it's installed, plugin you MicroSD card (or USB Flash) into your computer, select the Raspbian Lite image and 'burn' it. The process doesn't take long. You will see something like this:
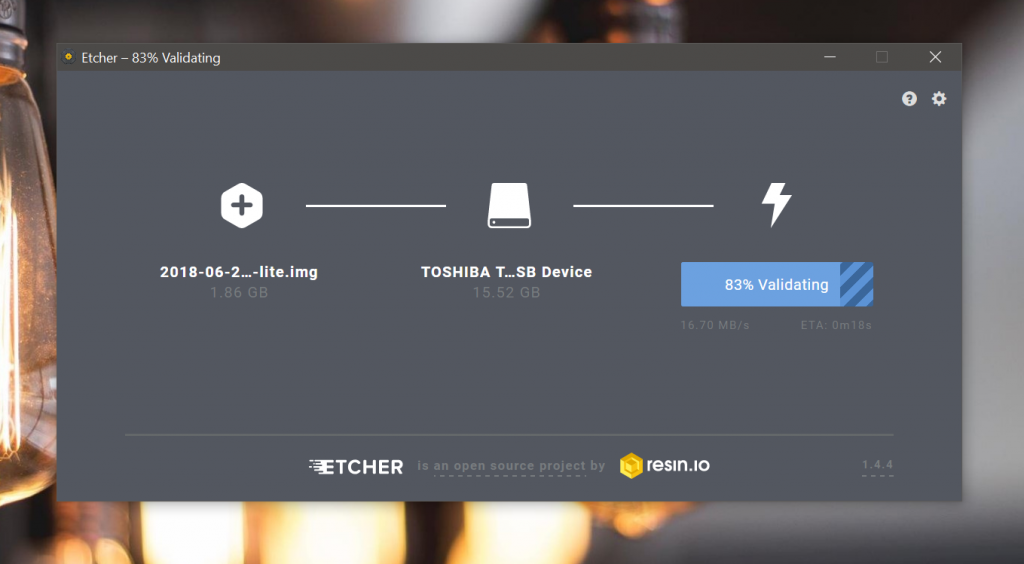
Once you've done that, plugin the media into your Raspberry Pi and start it up.
Step 2 – Securing your Raspberry Pi
At this point, you should see the command prompt on your Raspberry Pi. I recommend linking your Raspberry Pi to your network via an Ethernet cable to ensure a reliable connection. You can always SSH into your Raspberry Pi or run the next commands directly from the Raspberry Pi itself.
Assuming all went well, and you can see the Raspberry Pi command line, you're good to continue with the tutorial. When prompted, login with the username 'pi' and password 'raspberry'.
Next, we need to change the password for the raspberry pi to ensure that it is secure. To do this, run the following command:
sudo raspi-config
You will now see the Raspberry Pi configuration screen. We're going to make two changes now, one will enable SSH (optional), the other will change the password for the pi user.
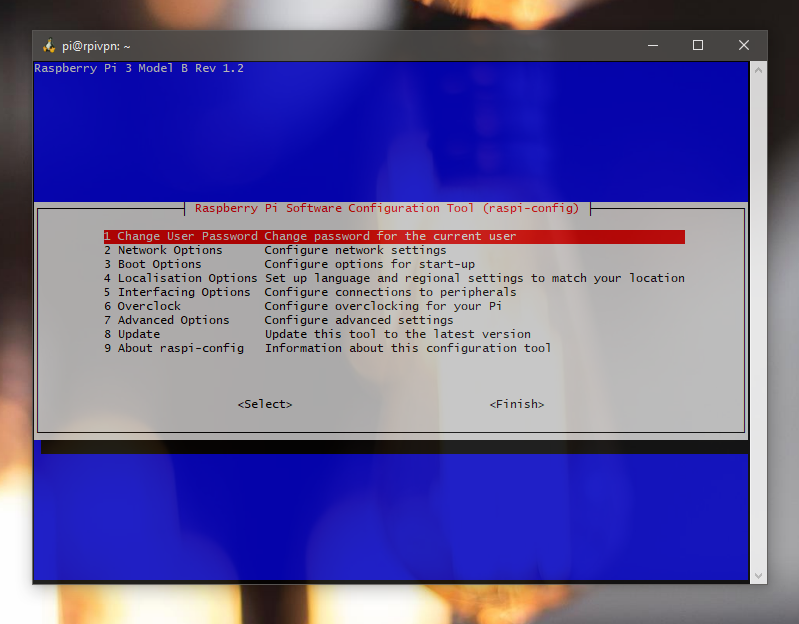
Now choose 'Change User Password' and when prompted, enter a new memorable password twice.
If you also want to enable SSH, do so by choosing 'Interfacing options' and then 'Enable/Disable SSH'. CHoose 'Yes' and hit enter. That's all we need to do now, so choose finish to complete the process.
Step 3 – Install the VPN server on your Raspberry Pi
Up to this point, we've installed Raspbian, secured our Raspberry Pi, now it's time to install our VPN server software. Setting up a secure VPN is a notoriously fiddly and time consuming process, and quite easy to intoduce vulnerabilities if you don't know what you're doing. Lucky for us, Github user hwdsl2 has created a shell script which makes the process straightforward.
Setting up with a randomly generated password
The shell script will generate a username and password for us as part of the setup process. So if you're happy with using the assigned password (as I did), run the following command:
wget https://git.io/vpnsetup -O vpnsetup.sh && sudo sh vpnsetup.sh
Wait for the installation to complete, and boom! You have successfully setup your own VPN server.

At the end of the installation process, you will be given your Pre-Shared Key (PSK), your username and password. Make a note of these, you'll need them in order to connect.
Setting up with your own username and password
Personally, to ensure security, I would allow the script to generate you a password and PSK, but if you would like to define your own username and password, run the following to initially download the script:
wget https://git.io/vpnsetup -O vpnsetup.sh
Next, edit the file:
nano vpnsetup.sh
Scoll down to the following lines, and set your desired settings:
YOUR_IPSEC_PSK='' YOUR_USERNAME='' YOUR_PASSWORD=''
For your PSK, you can generate one from RandomKeygen. Remember, your PSK is intended to be a non-menorable key and not a string that you remember. Remember to follow the guidelines for escaping special characters in your password. Press CTRL + X to exit, saving when prompted. Now run the script:
sudo sh vpnsetup.sh
There you go. Done.
Step 4 – Configure your Router to allow VPN traffic into your network
Here in the UK, BT are probably the biggest provider of internet, so this next section is based on the router I have, the BT Smart Hub, but you should try and look for these settings in your own router. These are pretty universal, but the locations in the admin may be different.
Log into your router's administration screen. On a BT Smart Hub, this is http://192.168.1.254 by default and you need to click 'Advanced settings' on the BT Smart Hub to login. You will find your default admin password on your Router or the Router's box.
Step 4.1 – Ensure the Raspberry Pi gets the same IP each time
Ok, so first of all, you will need to ensure your Raspberry Pi is assigned the same IP address each time the IP address pool is refreshed. This may be different on your Router, but on the BT Smart Hub, choose My Network form the Advanced Settings page.
You will see something like this:
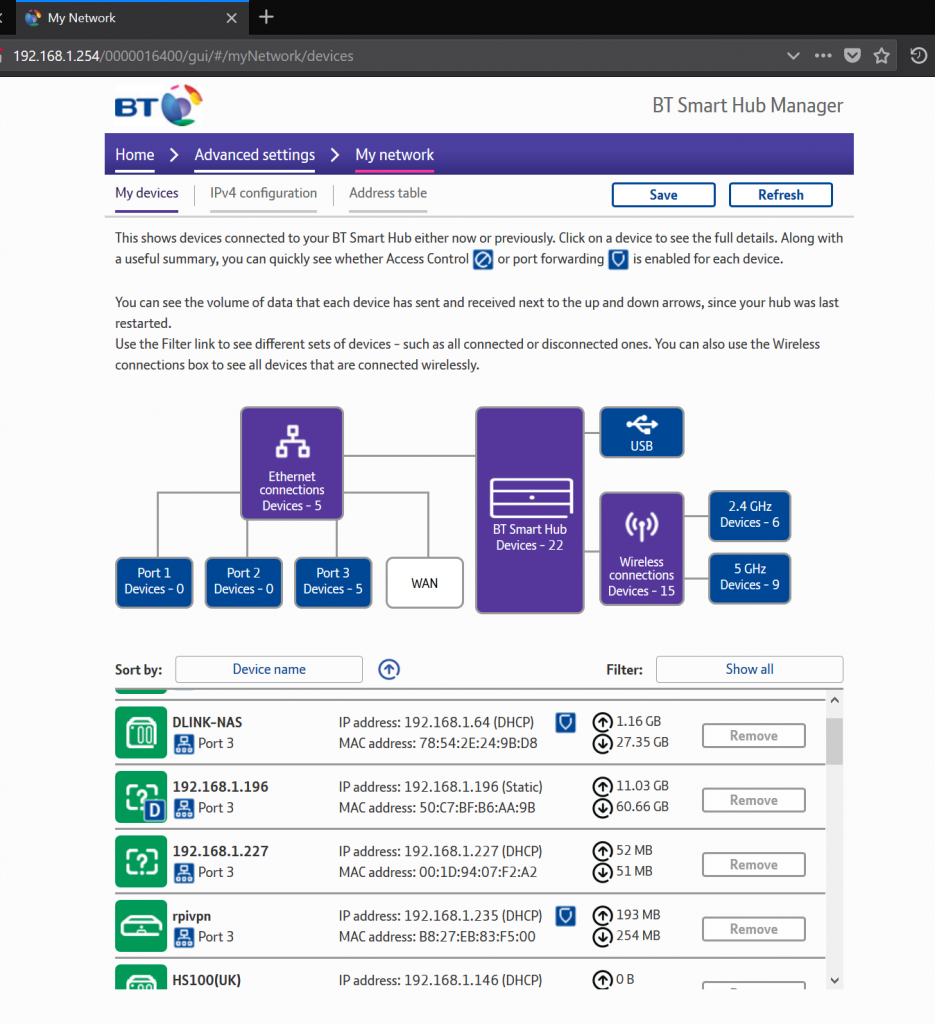
In the list, look for your Raspberry Pi. As you can see in the screenshot above, my Raspberry Pi is called 'rpivpn'. Go ahead and click on the Raspberry Pi in the list of devices.
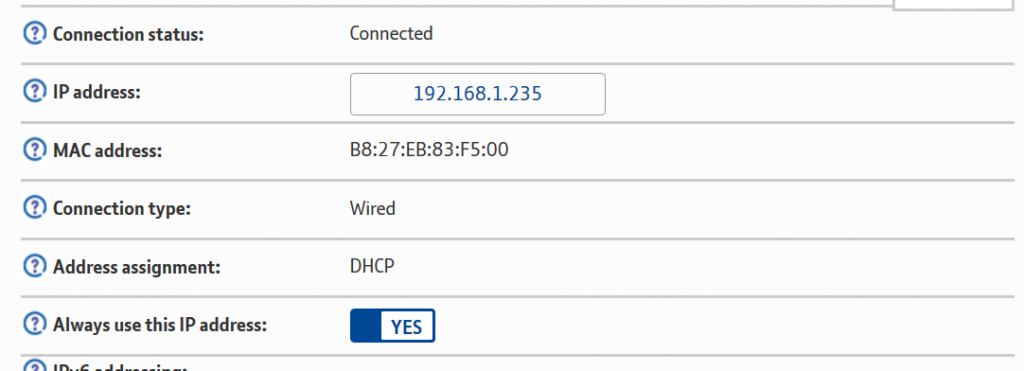
Make a note of the IP address assigned, and choose Yes for the option Always use this IP address. Save and you will be returned back to the list of devices.
Step 4.2 – Open up the Firewall ports to allow VPN traffic to the Raspberry Pi
Next we need to allow the VPN traffic through to the Raspberry Pi from outside your home network. Yet again, I (and most of the UK) have a BT Smart Hub, so this is tailored for this device.
From the Advanced Settings page, choose Firewall. Choose Create a new Firewall Rule. Give your rule a meaningful name, choose your Raspberry Pi and add the external port start and end to 500 and the same for Internal. In the protocol box, choose UDP. Click the Add button.
Now add another rule, start and end 4500 for both External and Internal Start and Finish. Choose UDP again and click Add. Click save.

A summary of the ports is below:
| IP | Type | Internal port | External port |
|---|---|---|---|
| Your Raspberry Pi IP | UDP | 500 | 500 |
| Your Raspberry Pi IP | UDP | 4500 | 4500 |
Step 4.3 – Make a note of your router's IP address on the WAN (internet)
You will have noticed, there's lots of talk around IP addresses. So far we have seen the IP address of your Raspberry Pi on your local network. In order to connect to your VPN externally to your home network, we need to know your Router's IP address on the Internet.
Note, I would imagine that most people are on a dynamic IP address. This means the IP address asigned to our Router changes periodically. If you have a static IP address, this never changes. I will follow up with another tutorial on how to assign a hostname to a dynamic IP address so that we can use something like remote.your-domain.com instead of using the dynamic IP address each time. When the dynamic IP address changes, you need to know what the new one is before you can reconnect to your VPN from the outside-world.
Simply type What's my IP address into Google to get this:
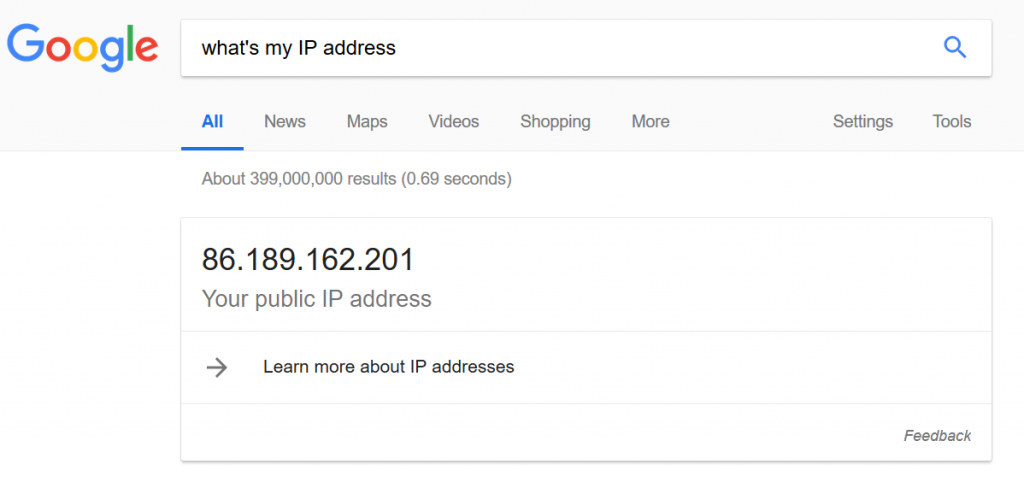
Make a note of this – it's the IP address of your router on the internet, and we'll need this to log onto your VPN from the outside world. That's essentially it – we've created our VPN server and we've opened the Raspberry Pi to the world. All that's left now is to connect to it.
Step 5 – Connect to your VPN
In order to connect, you should be on a different network to the one that your Raspberry Pi is connected to. To test this, I tethered my laptop to my mobile phone.
Connect from Windows 10
First, click Start, then choose the settings cog on the left hand side of the screen.
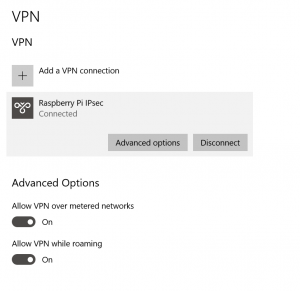
In the settings screen, choose Network & Internet.
On the left hand side of the screen, choose VPN and click Add a VPN Connection
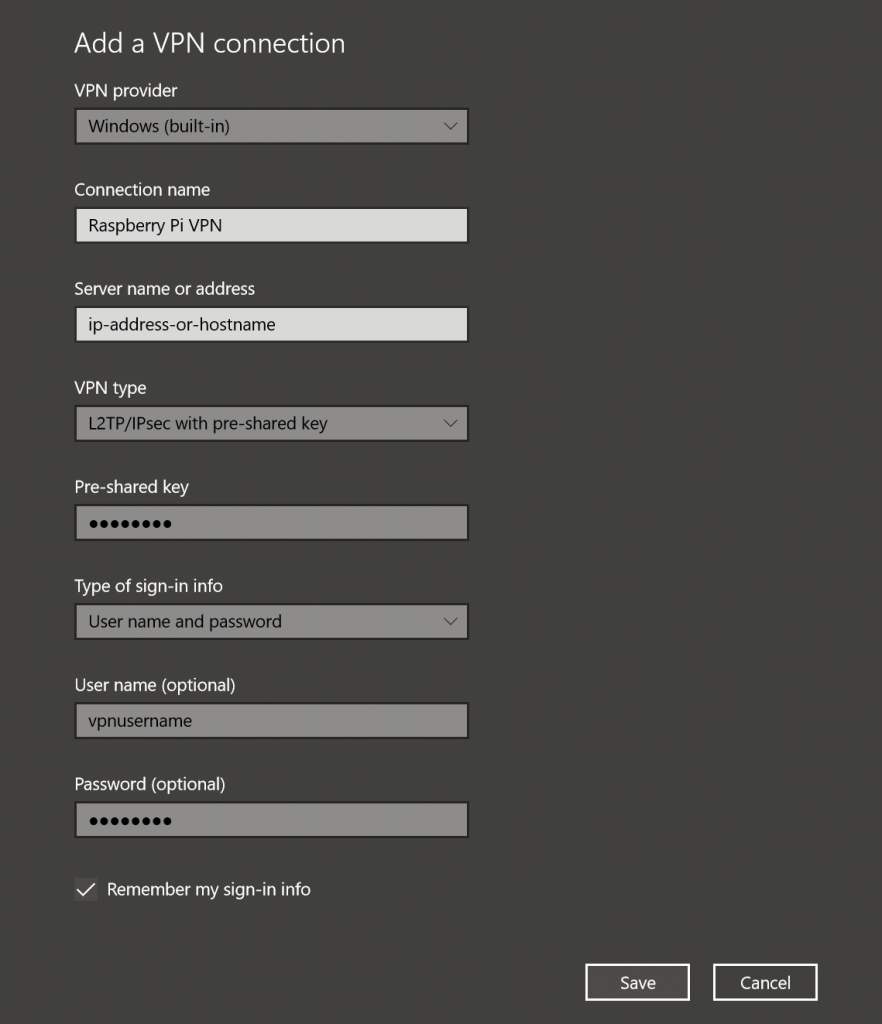
As shown above, use the following settings:
| Setting | Value |
|---|---|
| VPN Provider | Windows (built-in) |
| Connection Name | Anything you like |
| Server Name or Address | Your IP from step 4.3 |
| VPN Type | L2TP/IPsec with pre-shared key |
| Pre-shared key | The key generated in step 3 |
| User name | The username generated in step 3 |
| Password | The password generated in step 3 |
Connect from MacOS
Todo
Conclusion
We've installed our Raspberry Pi-based VPN server, set it up on our network and connected to it from our clients. The next step is to setup a hostname so that we don't always need to find the IP address of our home network as most people will be on a Dynamic IP that changes periodically. I'll cover this in another tutorial.
Any questions, feedback etc, feel free to ask in the comments.